Here are some additional Track Tricks for experimentation. In addition to the ability to cross tracks with other tracks at virtually any angle and the ability to hide track sections by using the detail setting for specific track objects, there is another capability that may have some specific applications. That is the ability to lay track within track, such as a gauntlet, and the ability to lay track directly on top of existing track and still have the added sections behave as a separate track.TRICK 1To make a gauntlet, simply plan the "input" curve so that it causes the following sections to overlay and stagger the existing sections. The best way I have discovered to do this is to place the first track (or select existing track) in the desired position and connect it as you would for any normal route. This works best with straight sections because it will ensure the rails run parallel. Remove a 50m section of the straight near where you want the gauntlet to begin. Insert a switch diverging to whichever side you want. Then add a 10m straight section and then the opposite curved end point to the switch, causing the end of the curved track to parallel the straight track. Now add another curved section to the end of the first curved section, causing the added track to aim back toward the main track. Finally, add a final curved section causing the rails to again run parallel. If you used the correct curved end points, you will have a track within a track but slightly offset. Experiment with the various stock curved pieces to get the results you want. Continue adding track to the new interwoven sections and finally end with another curve to exit to either side. Remove the switch and curved track sections used for the template and replace with another 50m section (unless you originally removed less than 50m). Add additional track to the new section as desired to continue the route.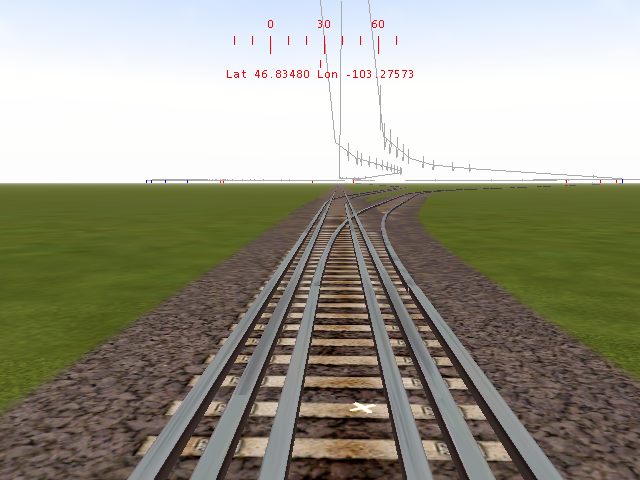
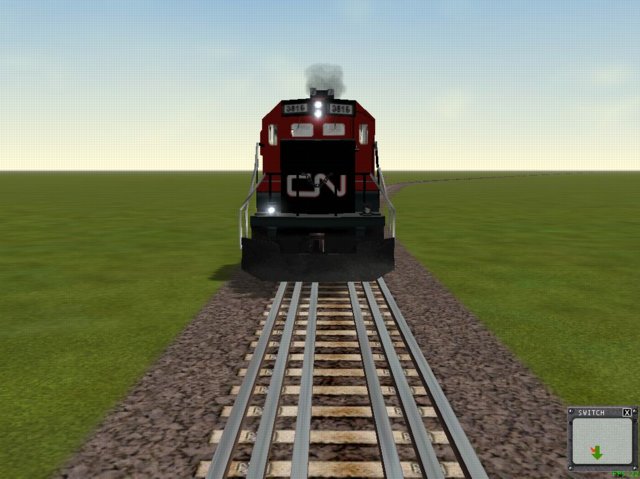 Some caveats: I try to use long straight sections for the initial (original) track. I ensure that when the 2 tracks are parallel and interwoven that the section joints for the old and new tracks never overlay one another. I add a short 10m section of straight track to the "overlay" track to ensure that joints aren't overlapped. The length isn't really critical except to keep the new track joints from snapping to the wrong track. If that happens, you may discover you have to remove both new and old track to get the track database reset, then add the track again. Add signals before adding the new track, or you may get unpredictable results from them. It appears that signals installed with the original track continue to work for that track, and signals added after completion generally operate with the new track. It may depend on the separation distance between the interwoven parallel rails. Build a small section and try it out. Always backup your route prior to any modification of this type. You don't want to have MSTS try to rebuild the track database if you build in an error.Install new track with the track markers enabled (on). This lets you see the valid routes for both track sections. If the white lines remain continuous for their respective sections, you should be in good shape. Search for any vertical blue lines indicating a bad junction in the rails. Again, no blue lines and you should be in great shape. Note that the white database lines appear to converge into a single line, but there is no red line indicating a junction.
 Save the route and close the editor. Then restart the editor in Activity mode and look at the track plan. Discontinuities (and switches) will show up as black balls on the track diagram. If you see a black ball in the middle of a track section with no diverging route you know there is a bad joint. Note where it is and then restart the route editor and repair the bad section. I've found this saves time by finding most problems before actually running a train, however, successfully running a train is the final test.Additional comments: All track must be on the same level or altitude. If you try to slope up or down you will have to experiment considerably to get the track so that one section doesn't slope to a different height than the other. If laying long sections it helps to use multiple width track sections as a guide. When everything is finished and lines up, just remove these sections and add single track sections as replacements. Again, be sure the rail joints are sufficiently staggered to keep added track sections from snapping to the wrong track. It is possible to correct that, but it can be time consuming. Always backup as you go, but be sure you have a safe original backup to restore the route if necessary. If you are comfortable in My Computer or Windows Explorer you can save considerable disk space by only backing up files created on the current date. You can sort them by date in Explorer. If you need to restore the route, simply reload the original full backup and then copy only the new files over them. This will always allow you to return to baseline and then bring back in newer mods in chronological order so you can safely return to the last good rev and go forward from there. When restoring multiple backups, copy the oldest ones in first in chronological order to preserve the integrity of the progressive mods (incremental restore). I use a simple .bat file to automatically xcopy only files created or modified after a particular date (based on my original installation date). It copies the root directory database files and any modified files in sub-folders. Here is a sample .bat file to do the copy: (xcopy usa2 f:\usa2_.bak /s /i /h /r /k /-y /c /d:06-11-2001). You can also enter this directly on a DOS command line (I’m gonna miss command lines!) Substitute the appropriate drive and file name for your computer. My date is just an example. Pick the latest date that you know the program ran error free (or just before you started modifying).TRICK 2The second trick is to lay new track directly over existing sections. The technique is identical to that above but results in the new track becoming invisible so it seems to occupy the same space. It appears there is only one track when in reality there are 2. This could be use in situations where you want 2 tracks to appear to switch into a single track, such as when crossing a narrow trestle or a single tunnel, etc. When trains run, the track gives the appearance of a switch except there are no points and no frog. This method can be used to converge and diverge a route without having to remember to throw switches. The train will always follow the correct track. Signals may not act as expected, however. A piece of rolling stock parked on the “new” track won’t show up for signals monitoring the original track.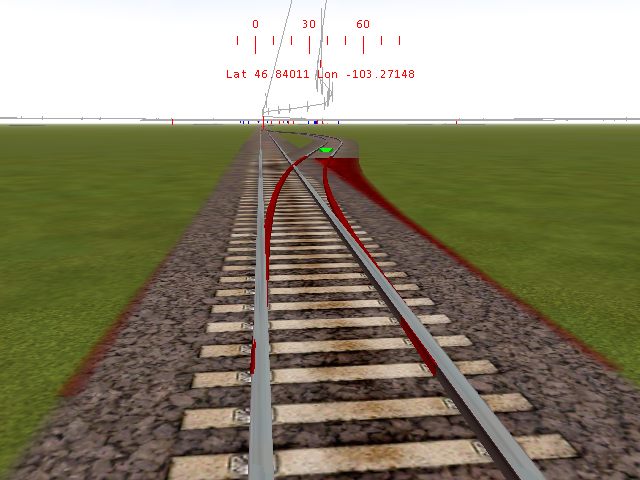
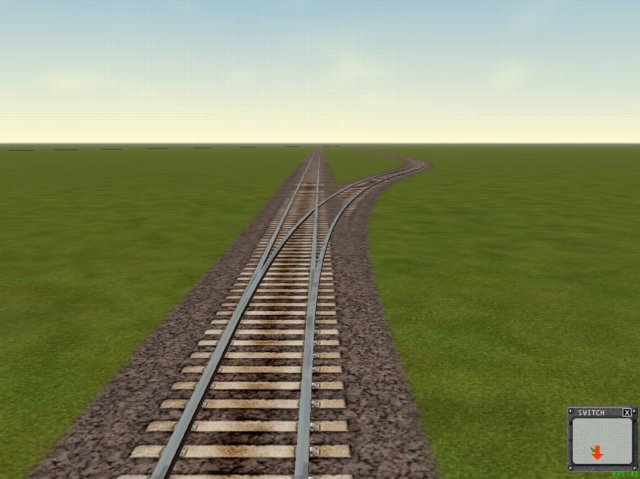
Experiment and let me know of any strange behaviors. I have a route I built just to test these things. No scenery or other complexities to rebuild if it crashes. If all works, I extract the track data and use it to build the same sections on a "real" route.Bill
Printer-friendly page | Top


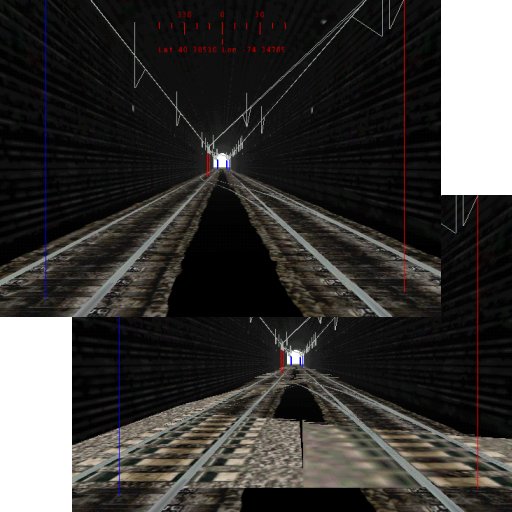 done how? tunnel section, then the switches with regular track filler pieces, than a tunnel section after it. all the regular pieces are marked on detail 10. then i lay down fake overlay tunnels until they meet up with the real tunnel at the end of the junction. i set the detail to 9. then i lay down the corresponding curve pieces and the result is great!